We have an awkward opening in the wall from the third floor master bedroom, into the main (2nd) floor open living/ dining area. It has shutters that open and close, but has always seemed a little silly, aside from its ability to let in a little more light from the skylights in the 2nd floor's cathedral ceiling.
I had the idea to find a way to hang some plants there, so that when they grew out, it would become kind of a "tropical waterfall" of plants falling down the wall, into the living room... right...

After searching and hunting for something to hang there, that would be sturdy enough to hang plants from, and also large enough for the window opening, I was coming up dry. Wooden flower boxes cost hundreds of dollars, which seemed pretty ridiculous, and I would either have to settle for 2 smaller boxes, or have one custom made.
I decided I'd go ahead and give making one a shot, and... it was pretty simple, and I am thrilled with the result.
Here are some of the tools I used:
- mitre saw (although there are no "mitre cuts," so any saw is alright to use)
 mitre saw (although there are no "mitre cuts," so any saw is alright to use)
- (drill; I LOVE cordless drills, but once again, any drill will do :)
 (drill; I LOVE cordless drills, but once again, any drill will do :)
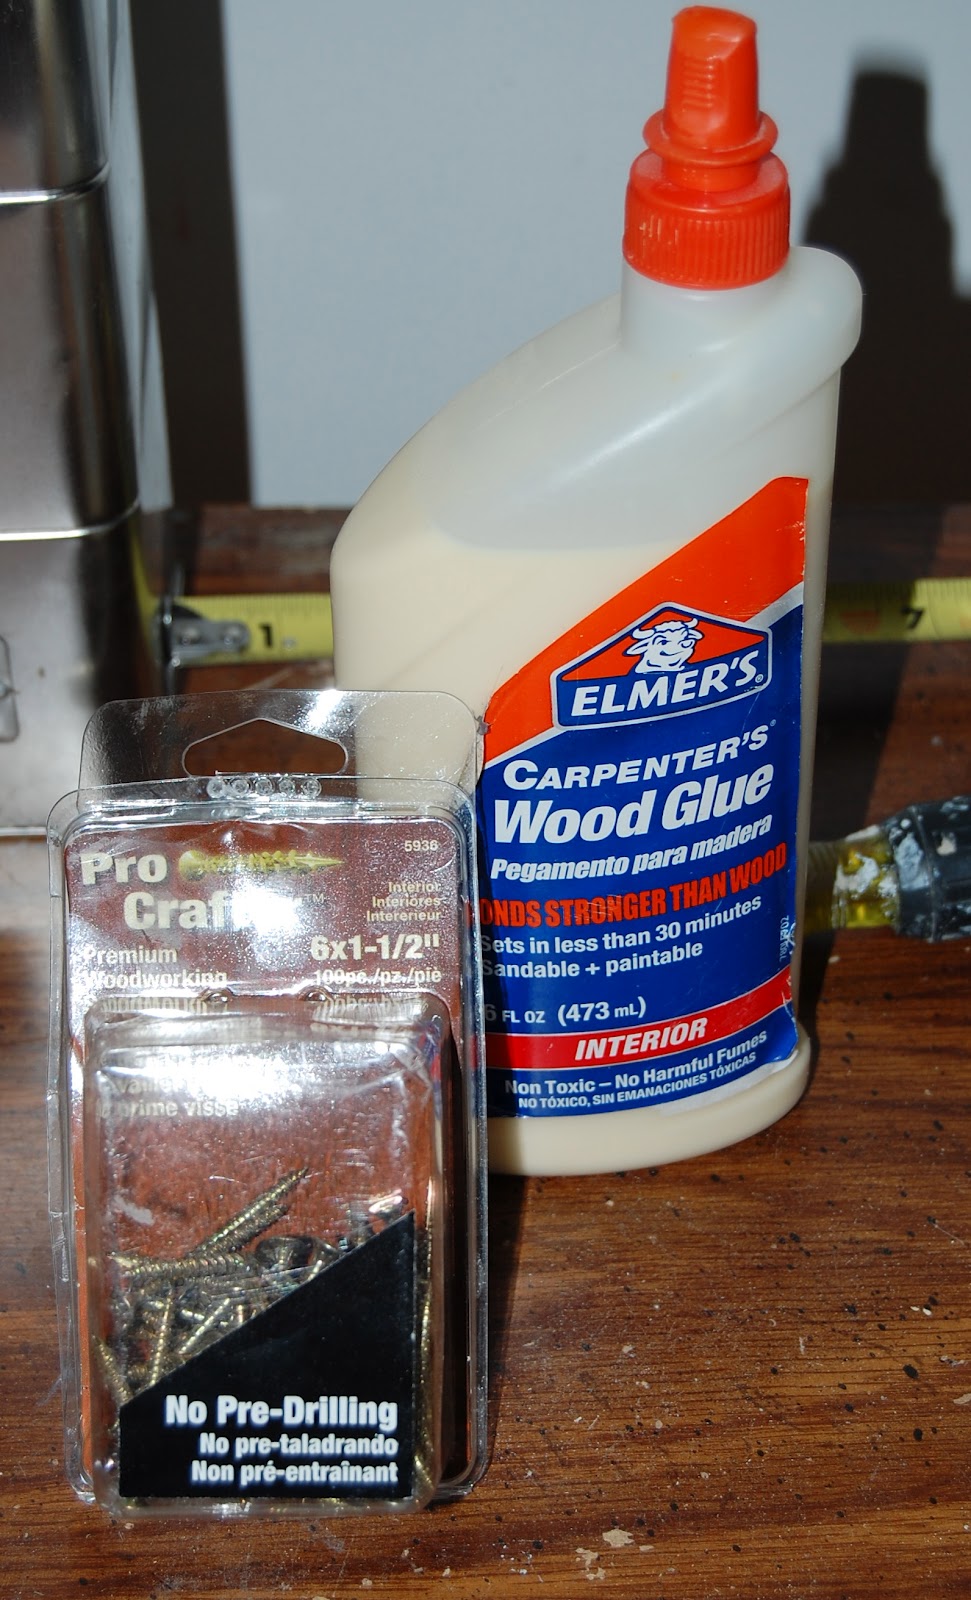 Wood glue and wood screws
 5 boards (try to buy the "least knotty" and the straightest boards you can find) Do NOT get pressure-treated either, if it is going indoors, as these have chemicals on them that you don't want to be breathing in daily!
Before you pick out your boards, you need to decide what size box you will need. For my box, the window sill is just under 8'. My plan was to screw the side boards into the sides of the bottom board, so the boards would need to be wider than whatever I wanted by at least the width of the bottom plank. My two end pieces would also be screwed into the end of the bottom board, and the edges of my "long side boards," so the long pieces would be the full length of the sill, minus the thickness of the two end pieces, if that all makes sense. Depth and width-wise for the actual interior of the box will depend on the size of plant containers that you would like to place inside. Mine were only a 4" diameter, and 4" deep, so I used 1x6x8 boards for the sides and bottom, and a 1x6x4 to cut the end pieces from.
You can certainly do fancier cuts (mitred angles) or other things with this, but I was looking for something basic.
Once I measured out the lengths that I wanted (be careful- measure twice, cut once!), I took my remaining pieces and laid them out how I wanted them to fit (I kept the "ugly" sides toward the back or inside).
Once I had my setup, I took wood glue and began gluing them in place. After I glued each one, I immediately took the drill and drilled the ends together (a screw every 3" or so). This is a close-up of one of the ends, prior to filling, sanding or painting.

Once I had all the pieces assembled, I went back over the whole thing and filled in all the screw holes and any knots or other blemishes that would be visible with wood putty. I let that all dry and then sanded it all down with some medium and then fine sandpaper.
Once it was nice and smooth, I gave it a nice coating of Kilz primer to prep the box for painting.

Once it dried, I painted it with a high gloss interior white paint. You can use whatever color you like, or I've seen really neat ones where you can take paint stirrers or flat wood stakes or wedges and paint them different colors and glue or nail them onto the sides.
I had my husband help me hold it up from the upstairs, while we screwed it into the studs on the wall, and VOILA! "Custom made flower box!"

No comments:
Post a Comment